Automatic Setup

The easiest way to setup htmldocs is to use our automatic setup script.

  1. Run the following command in your terminal:
npx htmldocs@latest init

This will prompt you for your project name and create a new folder in your current directory.

  1. After switching to the folder, install the dependencies by running:
npm install
  1. Once the setup is complete, you can start the development server by running:
npm run dev

This will start a live preview of your documents in your browser.

Manual Setup

If you prefer to set up htmldocs manually, follow these steps:

  1. Install htmldocs in your project:
npm install htmldocs @htmldocs/react @htmldocs/render
  1. Add the following script to your package.json:
{
    "scripts": {
        "dev": "npx htmldocs@latest dev",
    }
}
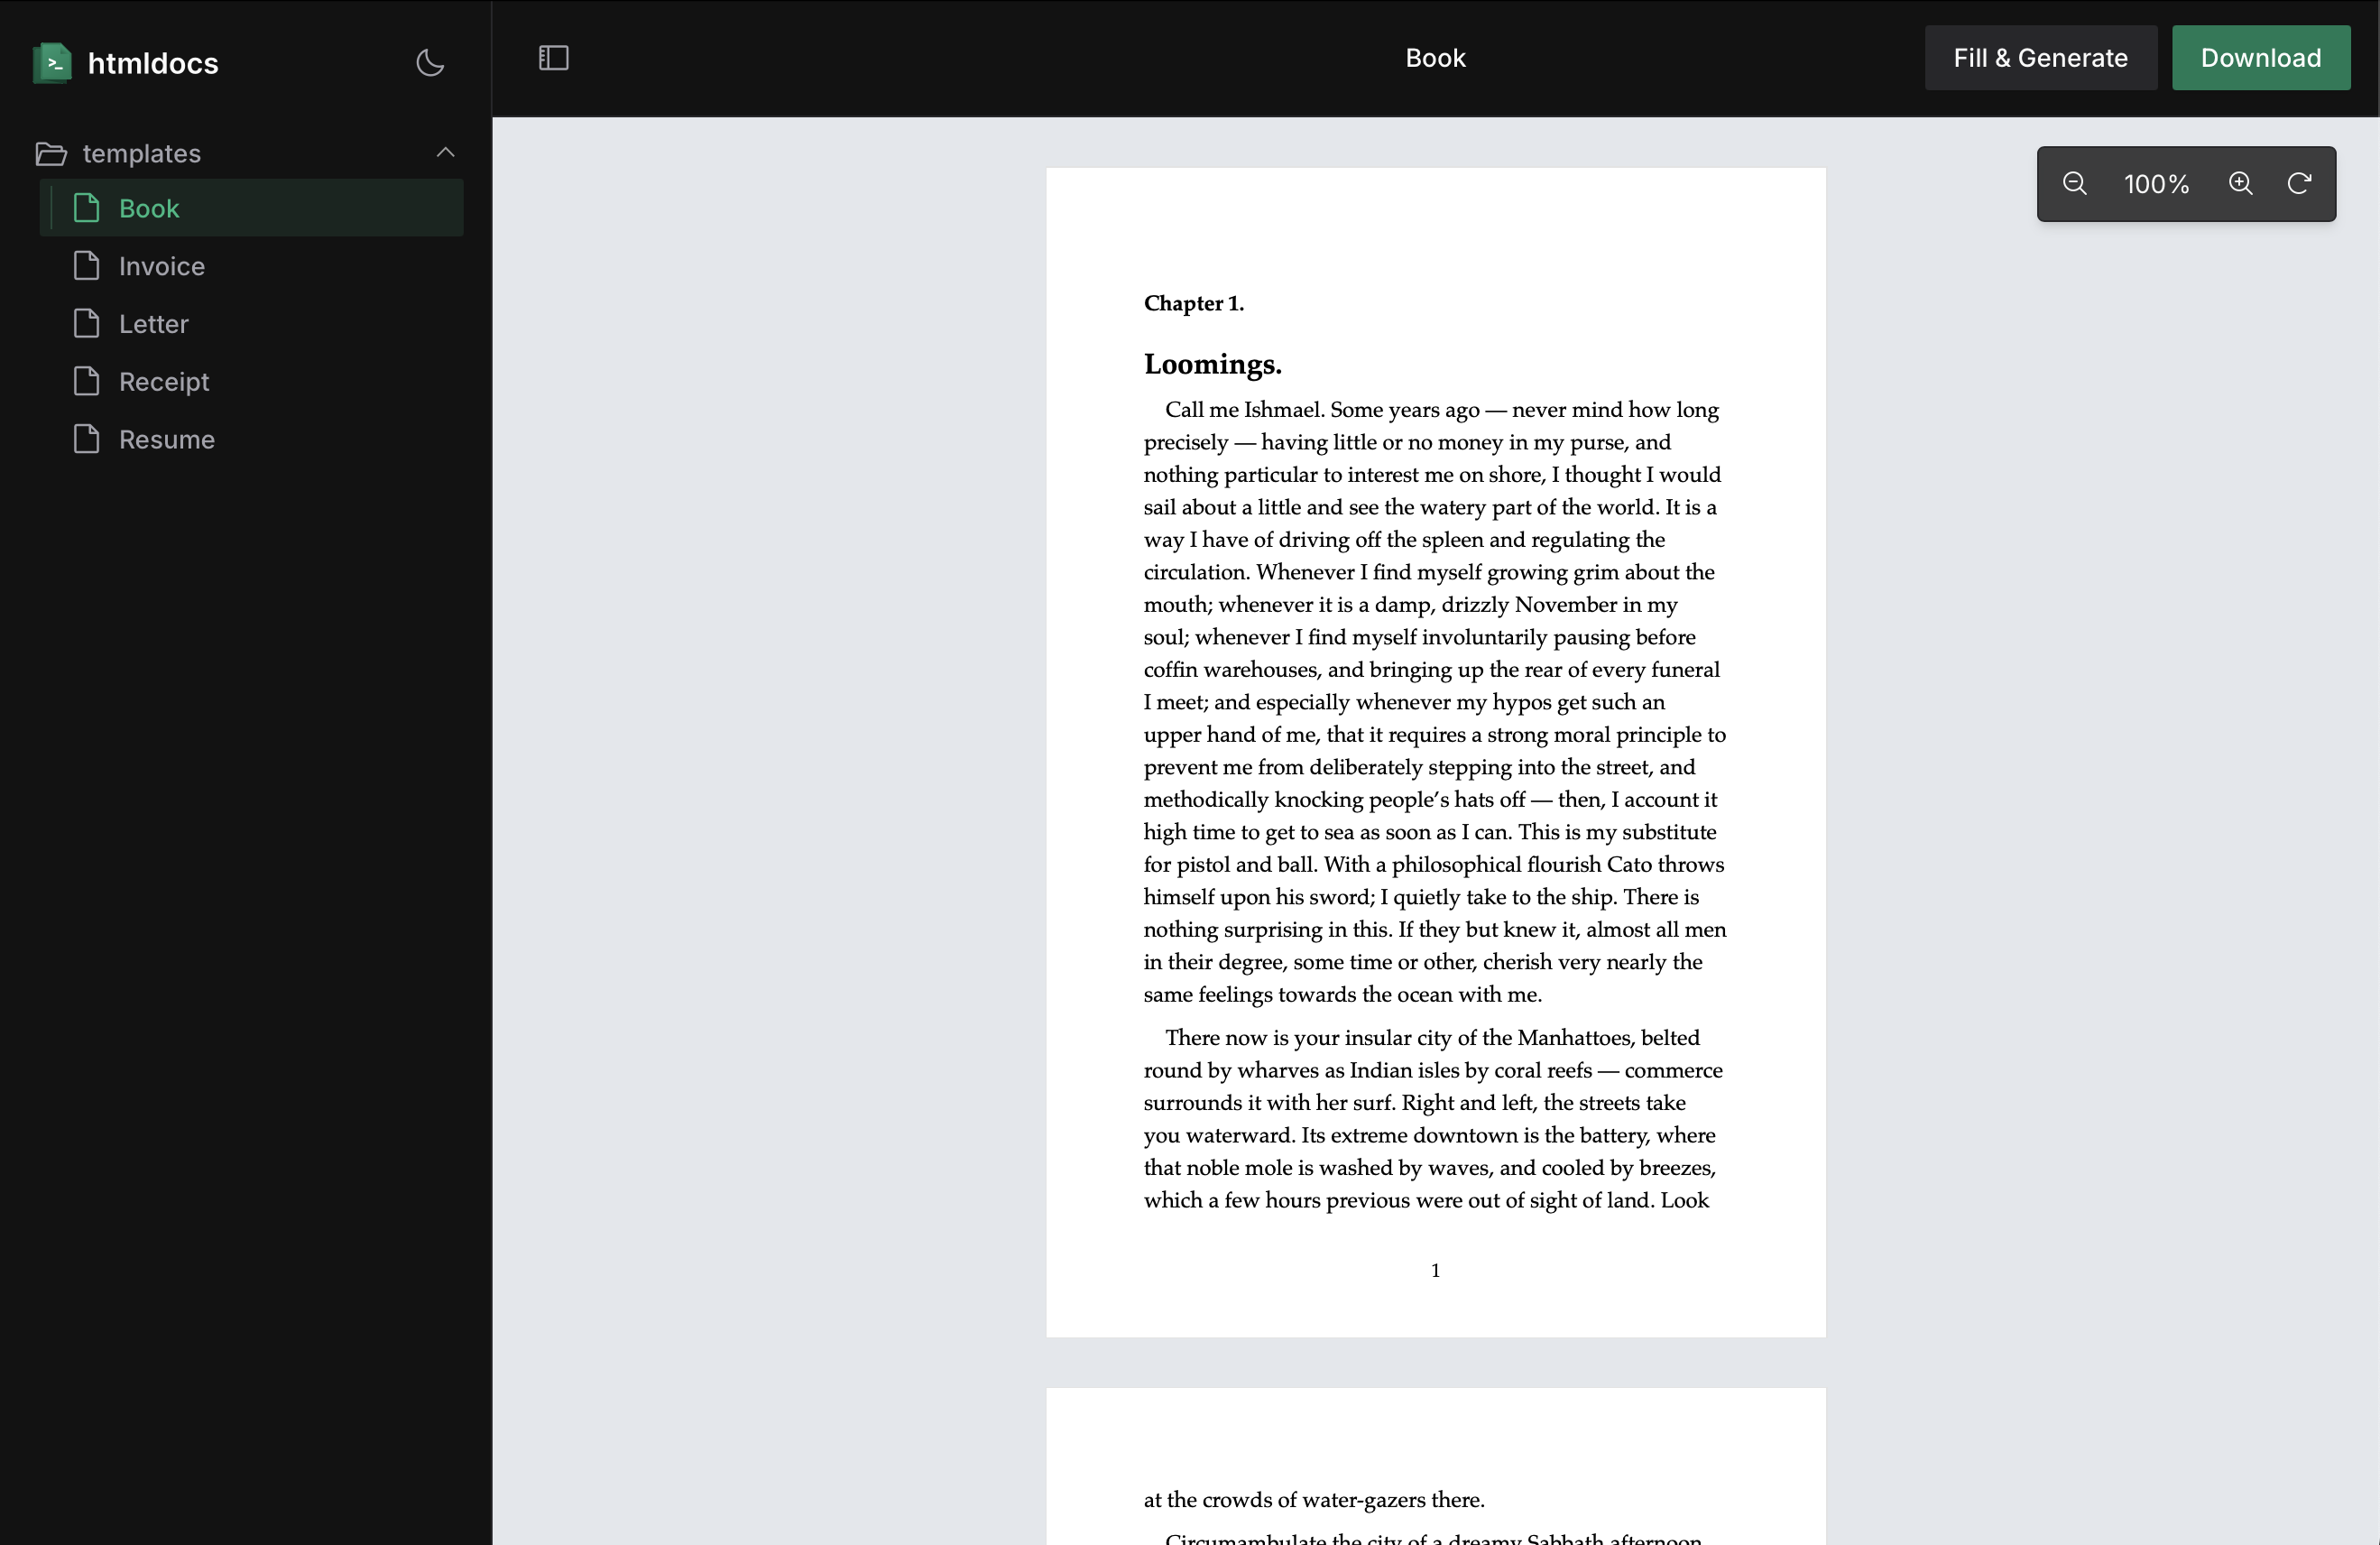
  1. Create document template

Create a new folder called documents in your project. Then, create a new file called index.tsx in the documents folder and include the following code:

import { Document, Page } from "@htmldocs/react";

export default function MyDocument() {
    return (
        <Document size="A4" orientation="portrait" margin="0.5in">
            <Page style={{ backgroundColor: "#000", color: "#fff" }}>
                <h1>Hello from the dark side</h1>
            </Page>
        </Document>
    );
}
  1. Run the development server by running:
npm run dev

This will start a live preview of your documents in your browser.